I decided to take photos when I had to build a work table this time... because I know a lot of women haven't a clue when it comes to using tools...and who wants to wait til hubby has the time anyway! Hope this helps and doesn't confuse anyone!
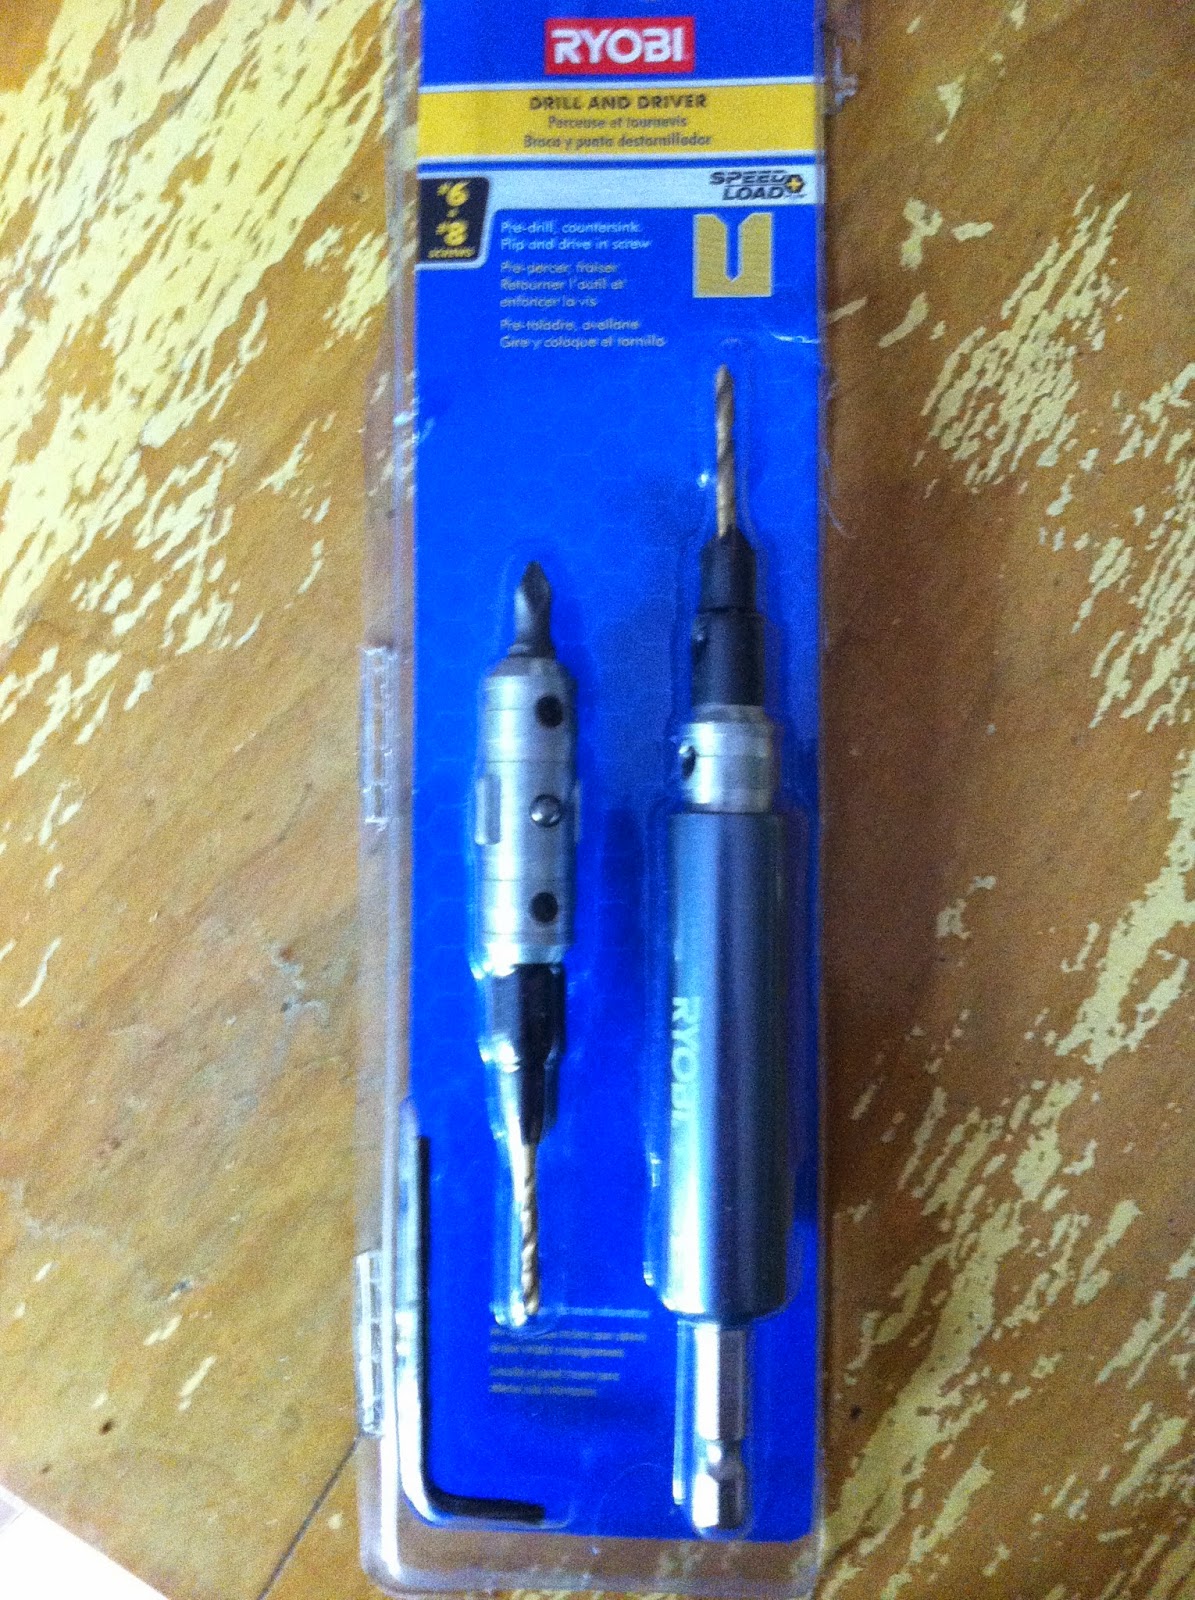
This is a little tool I like to use, made by Ryobi..one end is used to drill the holes in the wood and the other end is for drilling the screw in the wood...you just flip it around. This little tool also cuts out a hole- called counter sinking the screw...that way the screw will be down in the wood...practice using it also...don't get the hole too deep unless you want it that way.

.JPG)
.JPG)
.JPG)
.JPG)
.JPG)
If you don't know how to put it in the drill I suggest you get someone to show you how to change bits and how to operate it...or you can go to youtube or google it.(I use Ridgid tools as I have used used many and I used to be the Home Depot tool lady so I know about tools...but whatever you or your hubby has works fine! I would suggest that if you are going to be doing any building much that you get your own set of tools...
You also need to know what size screws you need... I like to put a screw up to one piece of the wood I am using and make sure it goes all the way through that piece and into the other piece...
Also your bit you use to drive the screw in has to match the screw heads you will be using... for this project I used a Phillips head screw.
You also need at least two of these clamps as they are what I call my "helping hands" they hold your wood in place so it doesn't slip as you are screwing holes in the wood and drilling in the screws...again whatever you have is okay and learn to use them as well.
This is what you push in to release it...
And this is what you squeeze tightly to clamp it down!
Now, a little about the drill..it has a forward and a reverse...meaning it will screw the screw into the wood and if you make a boo boo...you can take it back out...but learn to hold the drill firmly and straight so you don't strip out the screw cause then you may never get it back in or back out. am I confusing you yet...hope not! This is the drill ready to put the screw in..the little black button facing you is sticking out...
.JPG)
when you push this little button in....then you can unscrew the screw. You then push the same little black button from the opposite side of the drill back in and you are ready to go again! I also need to mention that on my drill...it has numbers...and a mark that looks like a screw...the numbers are for torque...the higher the number means the drill is more powerful...I use it on a high number to make the screw hole ( it also has a flip button on top with a 1 and a 2...) I put it on 2 for making the holes...for screwing the screw in...I turn it too the screw emblem and a 1...you will learn which works best for you...
Now you are ready to make holes for your screws...decide where you want the screws to go...don't get too close to the edge but make sure the are as near to the center of the other board you are joining it too....you may want to practice on some scrap pieces of wood before trying this.
.JPG)
.JPG)
And this is what it looks like when you get the screws in.
I hope this has helped those of you who want to learn how to DIY!
I love my Ridgid tools and if you register them online...you get replacement for free for life! even the batteries...check them out at the Home Depot...
I also used the Ridgid cordless Reciprocating saw, The Ridgid cordless saw, and The Ridgid Sander to do this project...My next major tool will be the Ridgid Planner...it will plane wood up to 13 inches wide...means it will sand the wood smooth! You can sand before or after you are done...your choice...you will learn how to do it all...and decide what you like best...I have just made three pallet benches...and am almost done with the painting...will post that as soon as I get them done!
follow me on pinterest and you will see a lot of tools and videos as well as tips and hints...
.JPG)
.JPG)



.JPG)
.JPG)
.JPG)
.JPG)
.JPG)
.JPG)
.JPG)
.JPG)
.JPG)
.JPG)

.JPG)
.JPG)
.JPG)
.JPG)
.JPG)
.JPG)


 how to recycle pallets